

There has been somewhat of a trend in cartographic circles of using Blender, a 3d modelling software, instead of hillshade tools in GIS to create the shaded relief for maps. The results are truly stunning.
Though setting up the Blender workflow does take some time and know-how. This guide is about how to rapidly export new hillshade models once you have a working project. If you would like a step-by-step guide on how to set up Blender, refer to this blog post. If you want a more in-depth guide that explains not only how to do things, but why you are doing them a certain way, refer to this tutorial.
If you have Blender setup and have saved your project, you can follow this post about updating your relief for any Digital Elevation Model (DEM) in the world.
Setup the project
So needless to say, the first step is to have completed this tutorial and have saved the Blender project.
Prepare your raster
Fill the null values
Next you have to extract your raster for your area of interest (AOI). If your AOI includes the ocean or any other feature that has null values, you need to fill them in.
In this walk through we are using ArcGIS Pro. Open the Raster Calculator geoprocessing tool and run the following:
Con(IsNull("rasterName"), 0, "rasterName")Where, “rasterName” is the name of your raster in your projects contents pane.
Rescale/stretch your raster
Next you need to rescale the raster so that it’s values span the range of values supported in the Blender input tiff image. In other words, if your elevations is 0 to 1,000, we need to rescale it so it is about 0 to 65,000.
Again, in ArcGIS Pro, open the Raster Calculator geoprocessing tool and calculate the following:
(“rasterName” – Lowest Value) ÷ (Highest Value – Lowest Value) * 65,535Where Lowest Value and Highest Value are the min and max of your input raster. In the example I gave above, that would be 0 (min) and 1,000 (max).
Resave
In ArcGIS Pro, use the Copy Raster geoprocessing tool to save as a tiff file (16-bit unassigned).
You’re done with ArcGIS Pro, and can go ahead and close it.
Setup Blender
Open your previously created Blender project.
Set up the plane
Go into the plane settings and adjust the scale to match the aspect ratio of your raster. For example, my raster was 6,286 x 5,795 pixels, so I input my scale as 6.286 (x) and 5.795 (y). To find out the size and ratio of your tiff, right click on it, go into properties, and then the details tab.

Point Blender at your raster
By default, you would have been in the 3D viewport in Blender, but now you need to go into the Shade Editor. With the plane selected, in the top left, go into the Shade Editor.
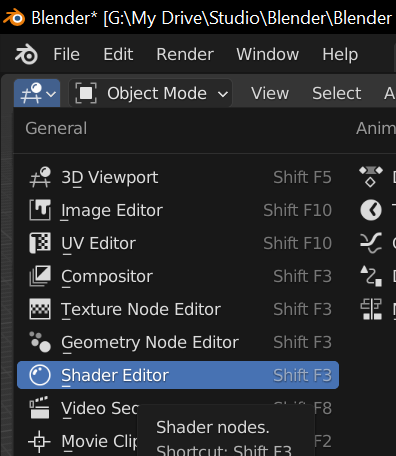
Your Shade Editor should already be setup from the previous tutorial.
You need to change which tiff the Shade Editor is pointing to. In this example, we have a tiff file called “oceanFilled.tif”.

Go back to the 3D Viewport in the top left. At this point you can perform a test render if you like, to ensure everything is as it should be. Go to Render > Render Image to do that.
Setup the Camera
In the 3D Viewport, click the camera to select it and then go to the properties on the right hand side of the screen.

Above, you can see that we’ve adjusted the scale settings to match the aspect ratio mentioned above.
Then we adjust the orthographic scale to twice the value of the largest dimension of the raster. In our example, that is 6.286 x 2 = 12.572.

At this point, the camera size and plane in the 3D Viewport should match.
Adjust the vertical exaggeration
Now, go back into the Shade Editor, and check the displacement settings. This is how much it exaggerates the elevation in your tiff. If it is too high, it will be too unrealistic, but if it is too low, it will be too smooth and featureless. Consider values between 0.3 and 0.6.

Lighting
And back to the 3D Viewport.
Go into the light properties and adjust the suns strength. Below we use a strength value of 5.
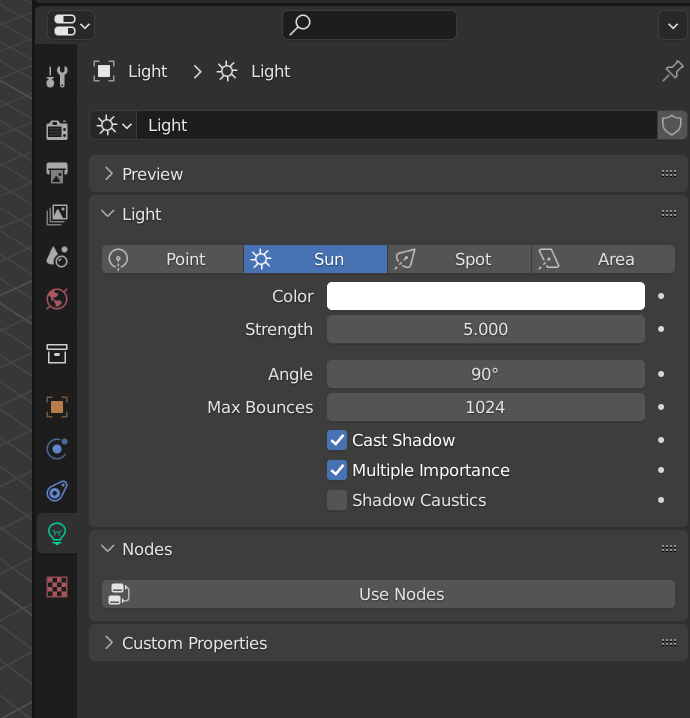
You can also apply a colour if you want to give it a morning or evening vibe.
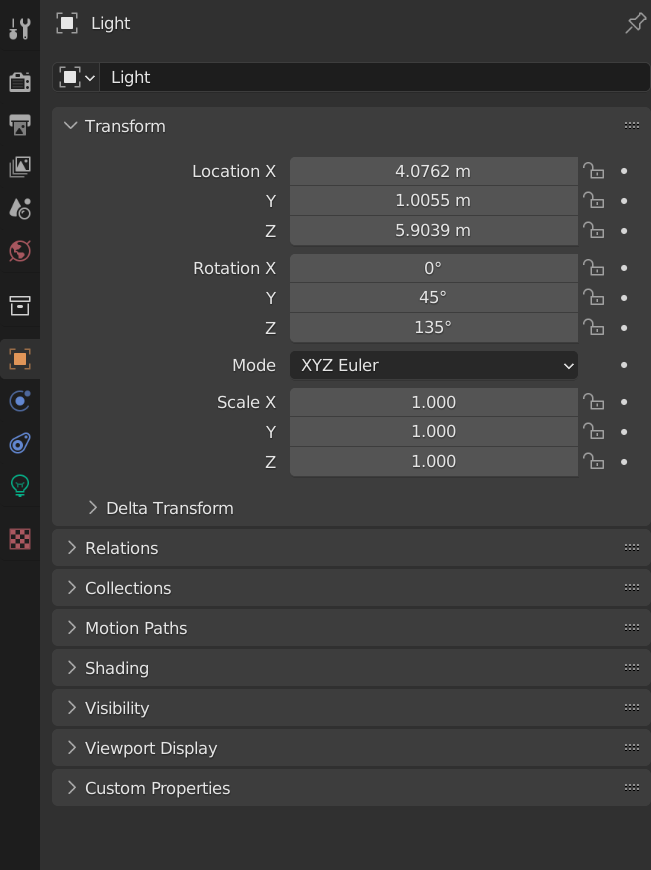
Then click on the orange properties box and change the suns position. Here we have set the Rotation parameters to 0 (x), 45 (y) and 135 (z) to simulate the sun coming from the upper left of the image. A higher y value will simulate later in the afternoon with longer shadows.
Render settings
We’re ready to render. Set the render settings to 30 and turn on denoise.

Quickly dart back to the Shade Editor and check that the colour space is set to ‘linear’.

Export
Go to Render > Render Image. This stage will take some time depending on the performance of your computer. Once complete, go to Image > Save.

You’re done in Blender.
Using your Blender image as hillshade in GIS
Fire up ArcGIS Pro again. Add your blender export to an open map and change your basemap to imagery.
You’ll quickly realise that your Blender render doesn’t have spatial information anymore, so you’re going to have to georeference it.
Now, with the raster selected, go into the Raster Layer tab, and apply the Overlay blend mode. This blend mode not only allows shadows to appear, but maintains the light on the north western facing slopes too.

Map made with two copies of traditional hillshade from the Living Atlas. One with an overlay blend mode and one with darken.
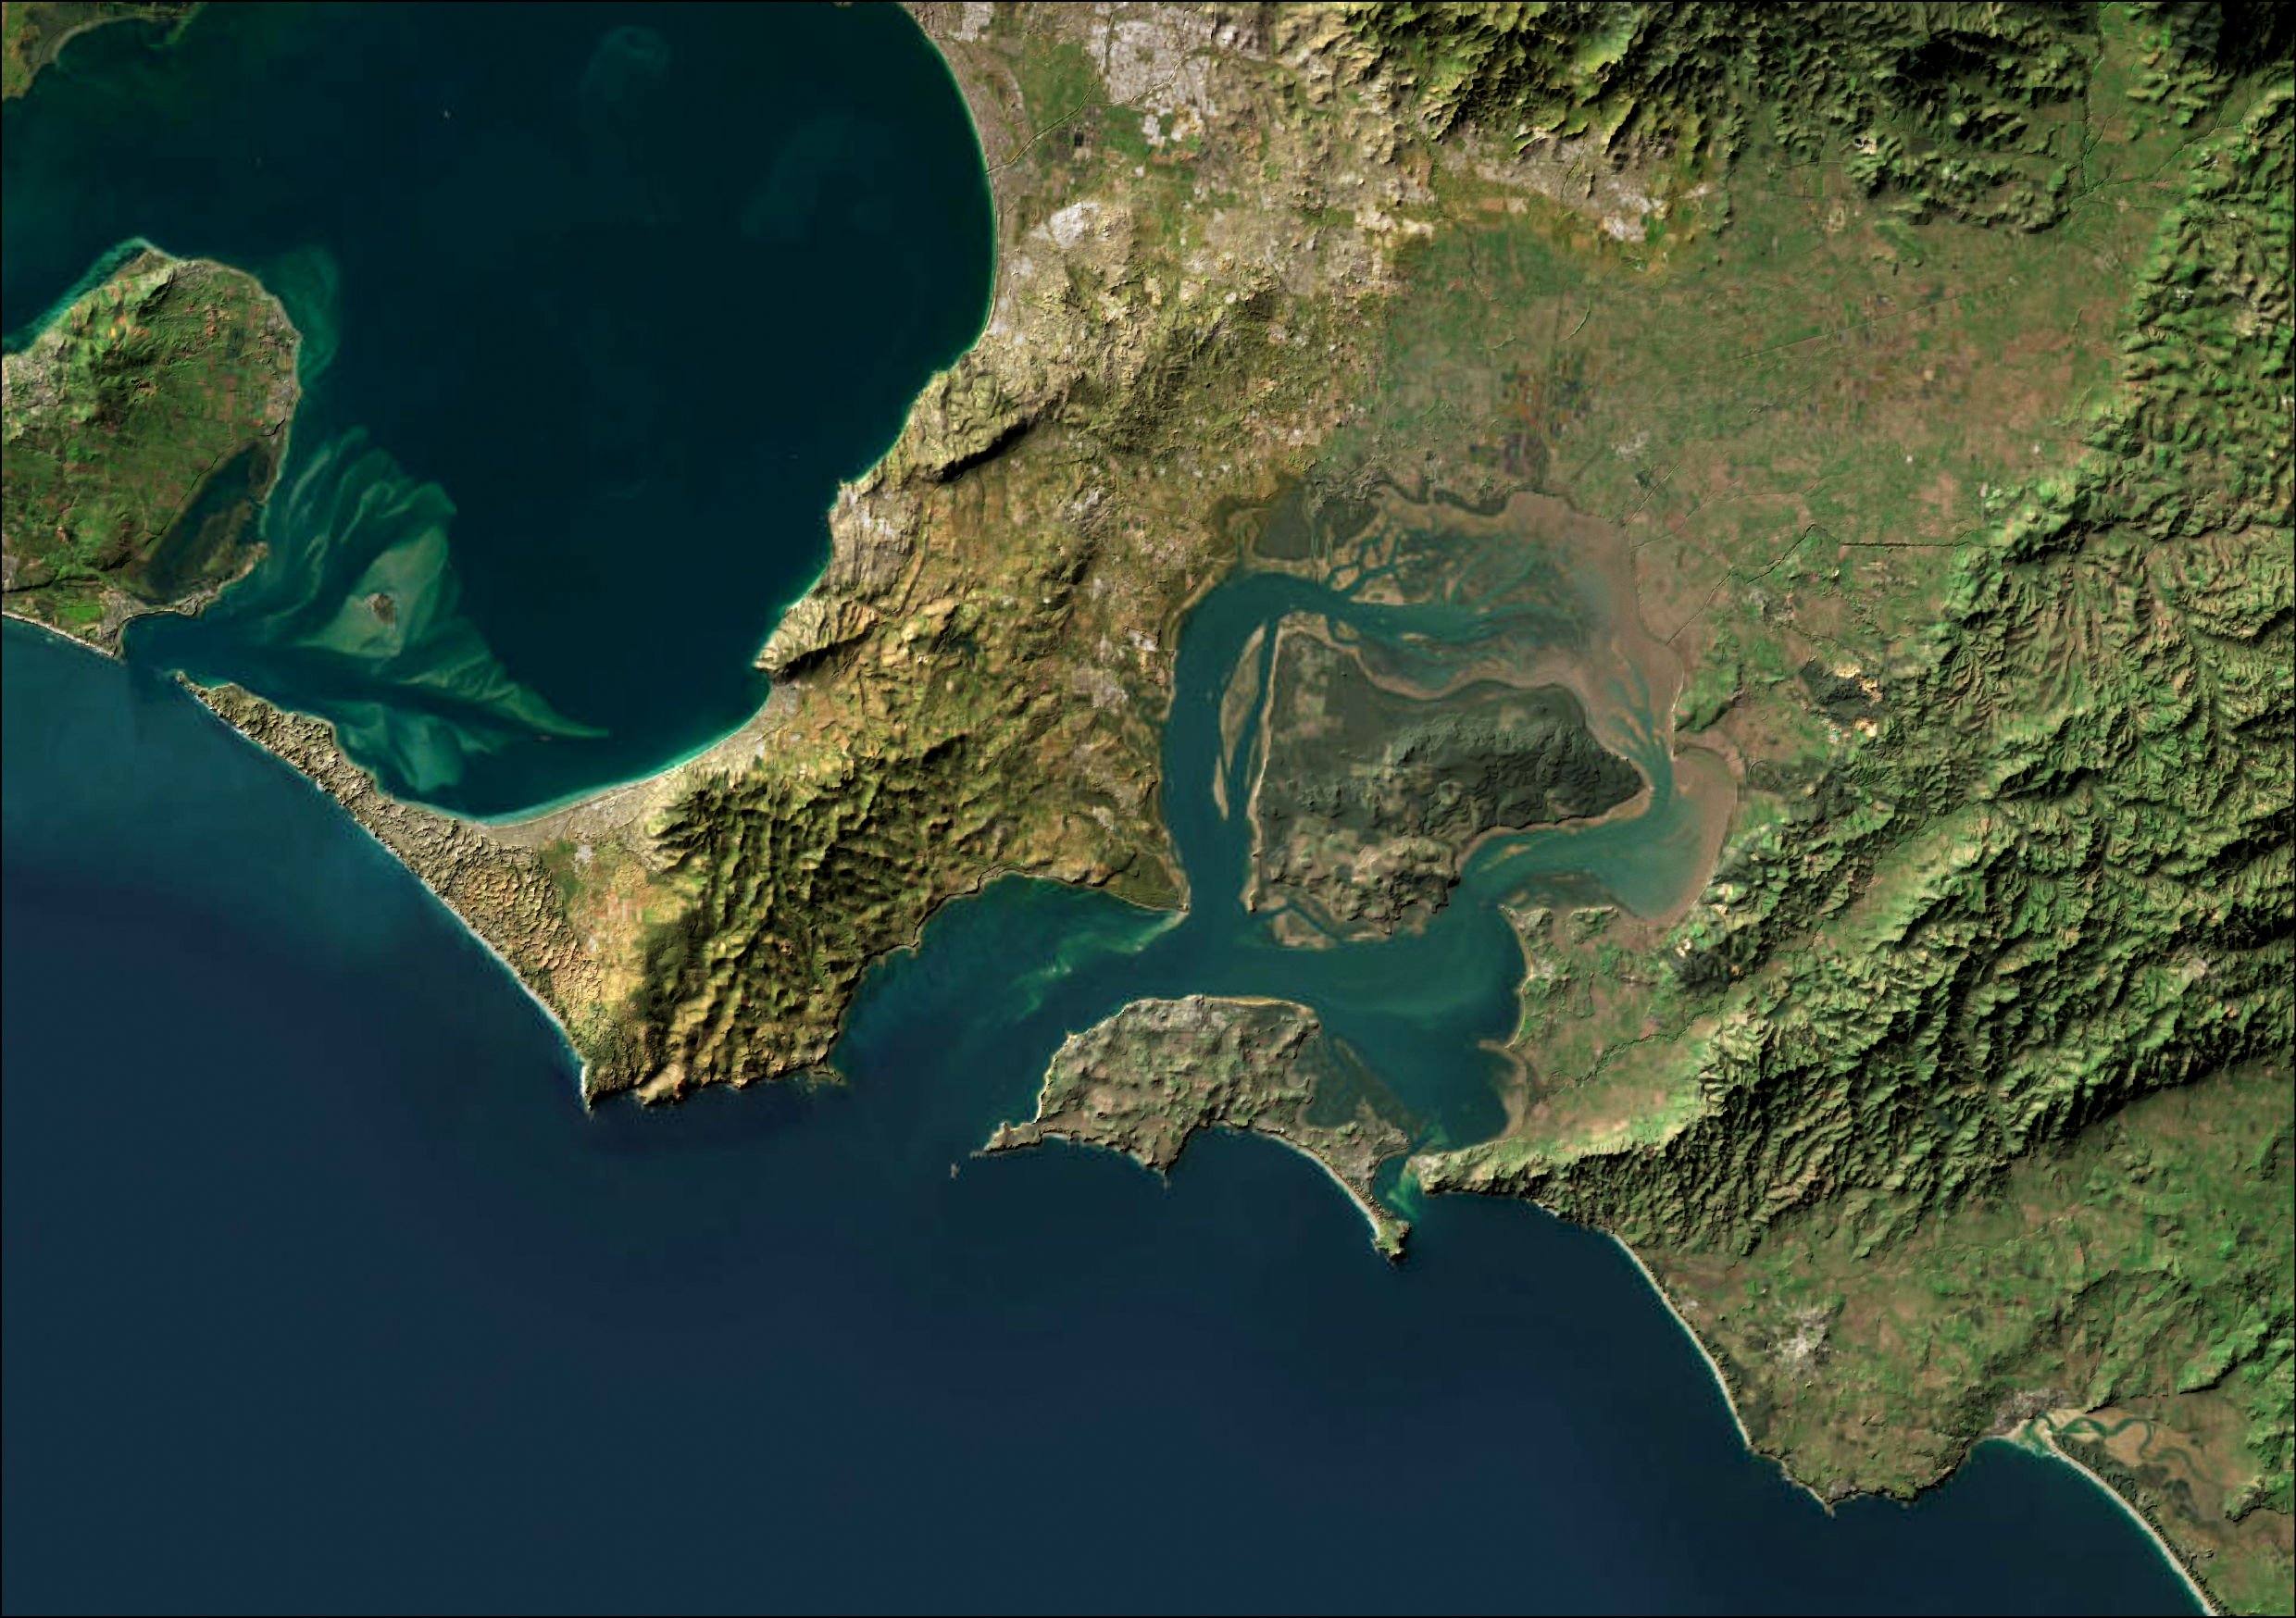
Map made with Blender hillshade and an overlay blend mode.
Of course the Blender version is darker, and really needs to be scaled back to make it more realistic, but I have left it at ‘full strength’ because it is dramatic and accentuates the detail for the purposes of the demo.
If you need help with cartographic work flows, feel free to check out our cartography page, or reach out.